Last night my family was hanging out in our living room. We like to pile on our huge sectional because even if we are not actively engaged in conversation, at least we are all together. At one point, my husband looked up and asked, “hey—what is everyone doing on their phones?” One daughter was playing a game on her phone, the other was watching Instagram reels, my husband was deleting junk email, and, well, I was watching YouTube videos of advanced PowerPoint tricks. I know—totally nerdy. But I love learning how to use presentation technology to the fullest.
So, courtesy of my couch surf session, I want to share a couple tips on how to easily create a more dynamic presentation slide deck. Presentations with movement are more engaging for your audience. And our eyes are naturally drawn to new or moving things. So here are two ways to zoom in or out of pictures or graphics using morph transitions or the zoom function. I’ll be using PowerPoint templates so you can easily follow along.
Using Morph Transitions
The morph transition in PowerPoint is simple to use. It quickly breaks up the linear feel of a slide deck. And you can easily add zoom motion to presentations you’ve already created using the following process.
I’ll use the PowerPoint template called “nature ecology education photo presentation” as an example so that you can find the same temple and practice along with me. For my zoom motion, I chose slide 5 in the template which has a 5-step circular process graphic. Say I want to cover each of these 5 steps in more detail and zoom into each one of them as I do.
Here’s how:
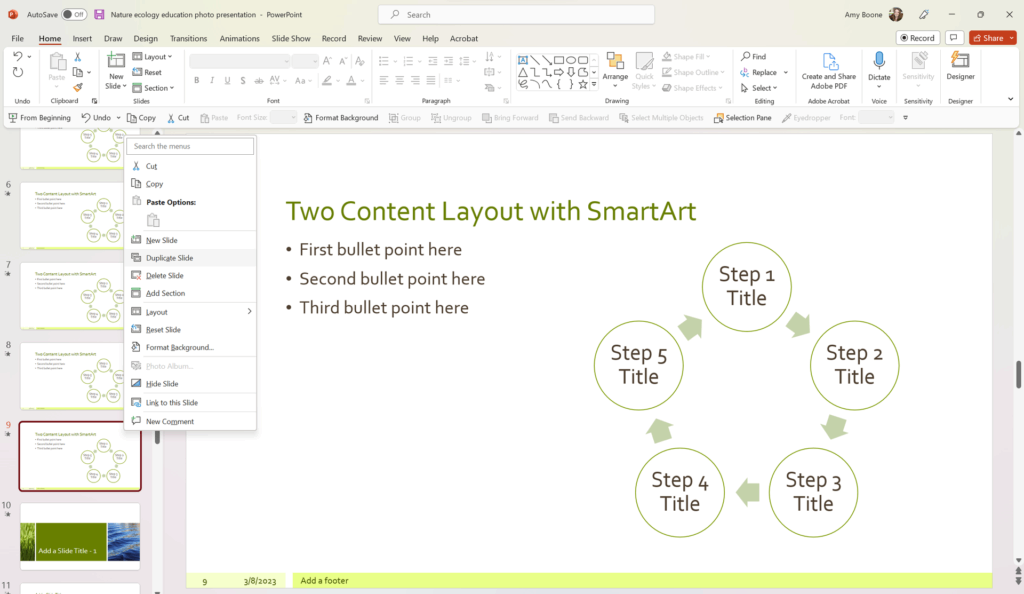
1. Start by duplicating the slide you want to zoom into. Since I want to zoom in 5 times, I’ll duplicate it 5 times, as shown below. It is crucial that you are working from a duplicated slide because that is what PowerPoint uses to create the morph effect.
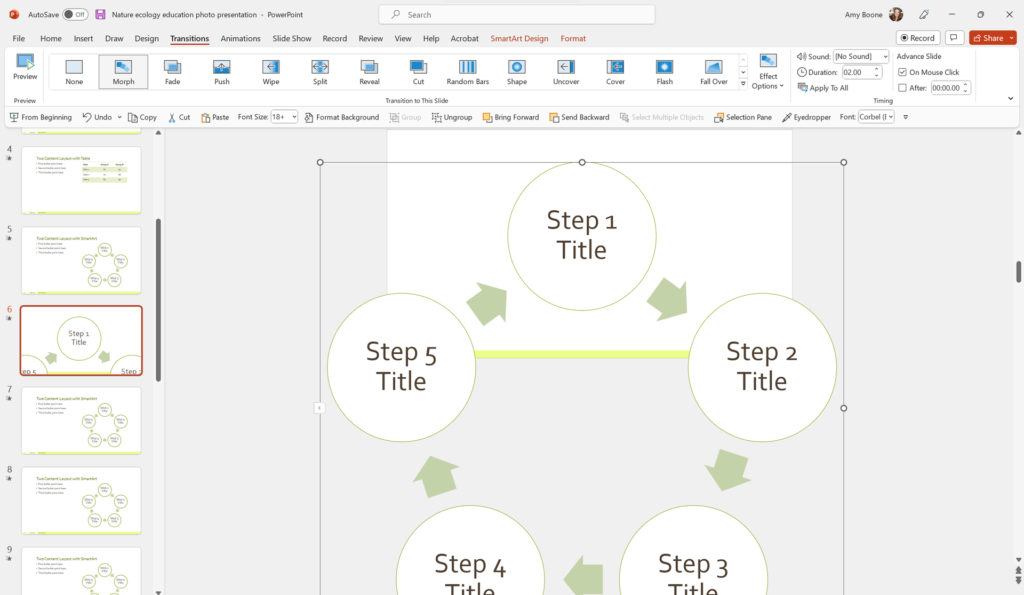
 2. Select your first duplicated slide (the one you want to zoom into). Then, expand the image and put the item you want featured in the center of the screen. Here, we are featuring step 1, so I have adjusted the image so that step 1 is large and centered on the screen.
 3. Then, go into the Transitions menu and select Morph. Now my slide deck will zoom from the 5-step process shown on the first slide into step 1 on the second slide. Pretty simple, right?
Now I have a couple of choices to make. Do I want to stay at the zoomed-out level and simply move from step 1 to step 2? If so, I’ll follow the steps above, just adjusting the step that is featured large in the center of the screen each time. My slide sorter menu will look something like this.
 However, if I’d rather go back to the first slide that shows all 5 steps in between each step, I can set the slides to zoom in and out for each one. To do this, I simply need to duplicate the first slide (the original zoomed out version) and place it in between each of the zoomed in images that feature individual steps. For this option, my slide sorter menu will look something like this.
![]()
Using the Zoom Feature
The Morph transition works best if you want to show different parts of the same image. The Zoom feature works best if you have different sections you want to jump to. With the Zoom feature, you are actually creating one landing/overview slide that has live links to other slides in your deck. For this example, I’m going to use the PowerPoint template called “movie night posters.” Say you want to talk about these three movie posters, but instead of simply clicking through a regular slide deck, you want to zoom in on each poster as you talk about it.
Here’s how:
1. Start by creating a new, blank slide at the beginning of the deck. (Pro Tip: if you are working with a template that has a preset background image, you can always format the background to a solid color and click on “hide background graphics” to give you a blank canvas. I chose a plain black background for this example.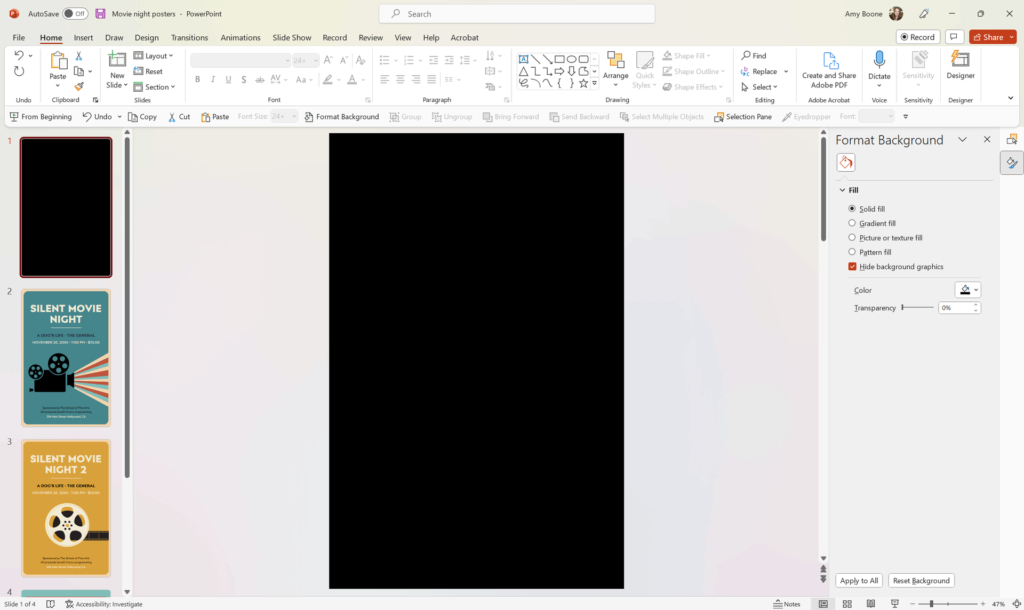
2. Next, I’m going to select my Insert menu and click on Zoom.
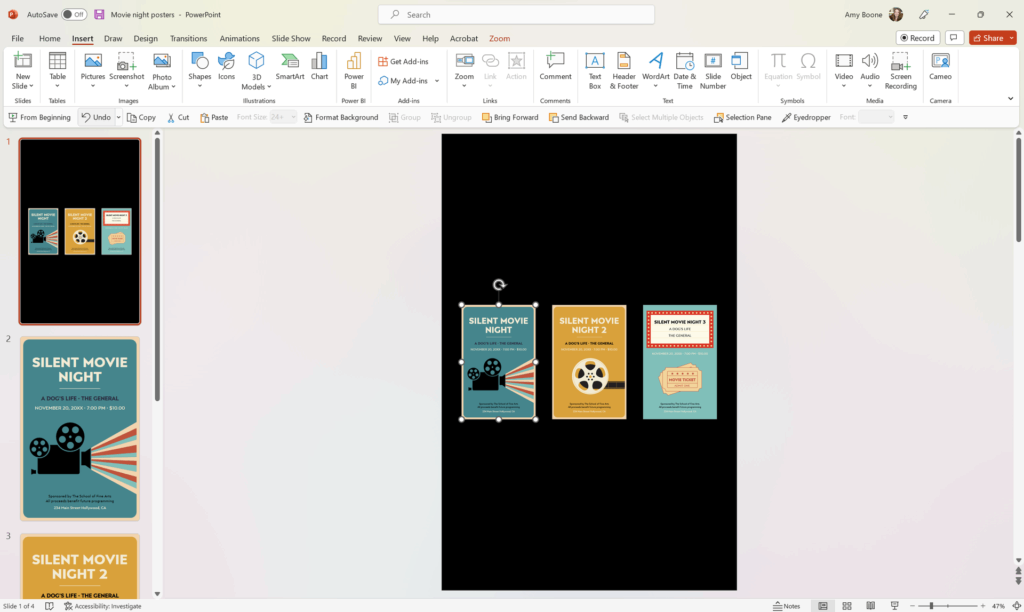
3. From here, I’ll select Slide Zoom and click the box under each slide I want featured on my landing slide. I’ll select all 3 movie posters for this example, as shown below. Then, I click Insert.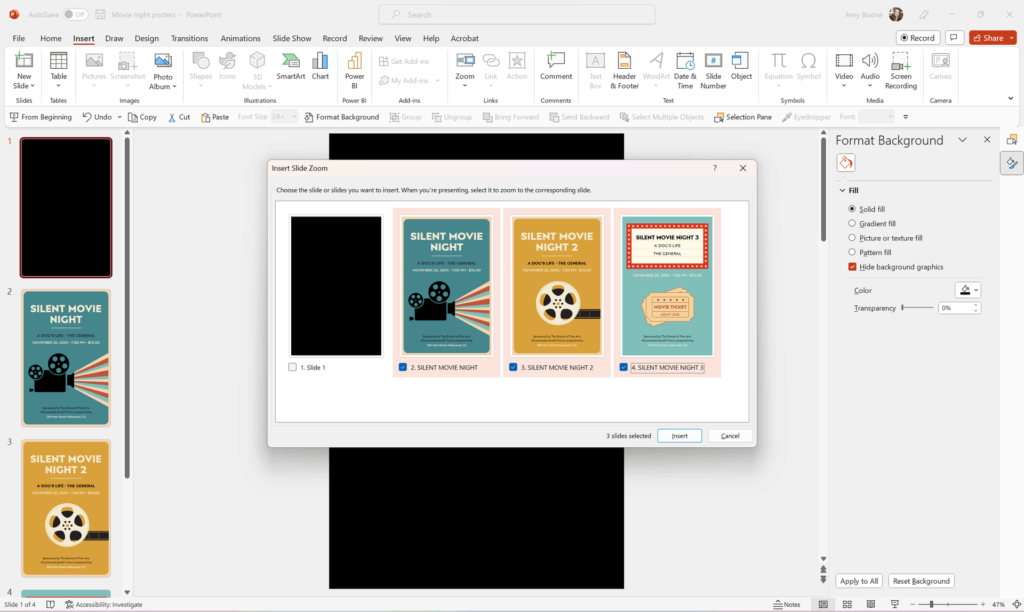
4. Now I have a landing slide with links to my 3 movie posters. From here, I can arrange my posters however I like. I’ll put them in a line in the order I’ll address them in during my presentation, like this:
 Now again, I have a choice. Do I want to just move from one poster right into the next (staying zoomed in?) If so, I’m good to go. But if I want to create that motion where the presentation zooms in and out, I’ll need to make a few quick adjustments.
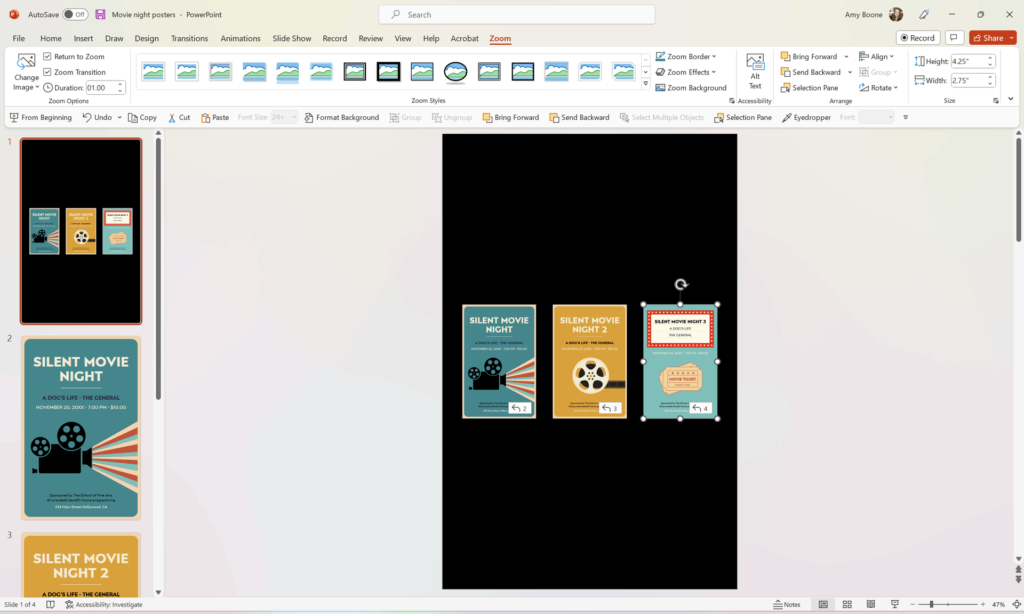
When you create a landing slide with live links, you need to tell PowerPoint what to do when you are done with a slide. If you don’t do anything it will just move to the next slide in the deck. But, I can select the Zoom menu and click in the box that says Return to Zoom. That means it will jump back to my landing page when I’m done with each section/slide, as shown below. Just make sure to check this box for each slide that you are zooming in to.
 These are two really easy ways to add zoom motion to your slides. Pull up the templates above or one of your old PowerPoint slide decks and give it a try. See how adding dynamic movement with the morphing and zooming features can take your presentations to the next level.
For more information about how to level up your presentation design, get in touch with us now.
