Creating a color scheme for your presentation is an easy way to elevate your presentation design. You use your favorite colors or your brand colors to make the presentation personal to you or your company. To apply these selected colors to your presentation design, follow this PowerPoint tutorial.
PowerPoint Tutorial: How to Use A Color Scheme In Presentation Design
First, save an image of the colors you want to use. For this example, I saved this image from Color Hex.

Source: Color Hex
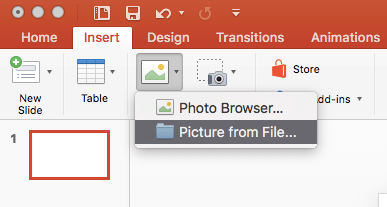
Open PowerPoint and insert an Image From File.
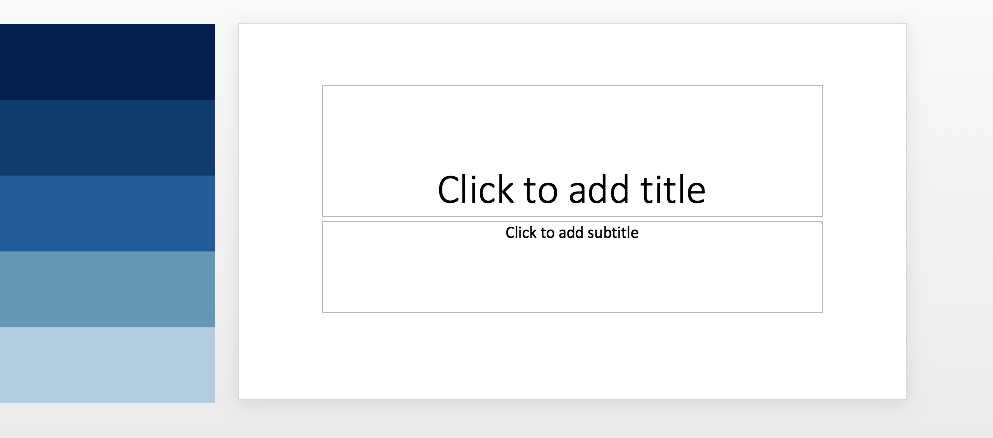
The image will appear over your slide. We will be using the image for reference, so I am going to resize and rotate it and move it to the side of my slide.
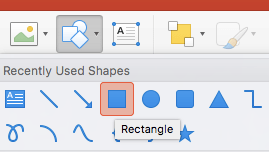
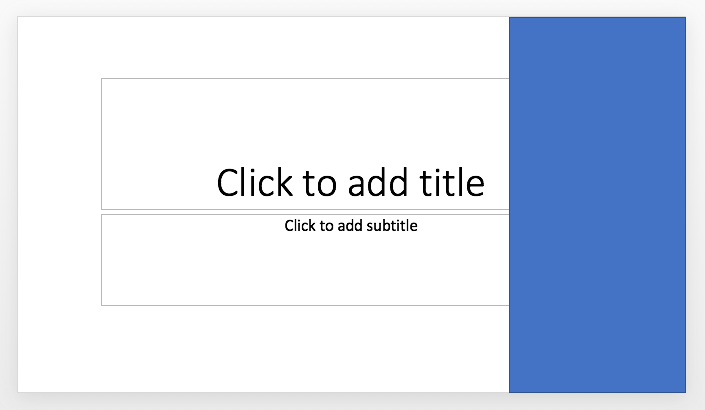
Let’s say we want to have a blue rectangle on the right side of the slide. Go to Shapes and insert a square. Resize it to the size you want.
Now we want to change the color of this rectangle to be the dark blue from our color palette. To do this, go to the Shape Format menu and select Shape Fill. You will see a drop down menu appear, select More Fill Colors.
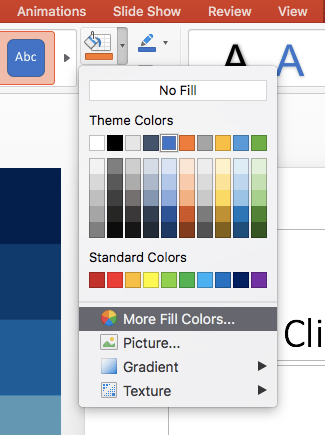
A box will pop up with more options for changing the color of your shape. Since we have a specific color we want to use, select the ink blotter tool on the bottom left.
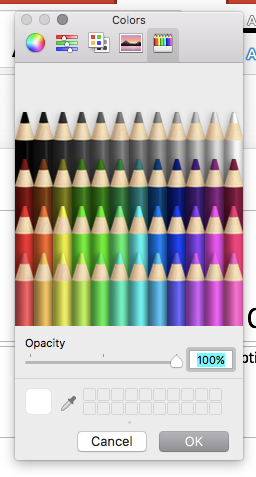
Use the blotter tool to click on dark shade of blue. Click Okay in the More Fill Colors box and you will see the rectangle change colors.
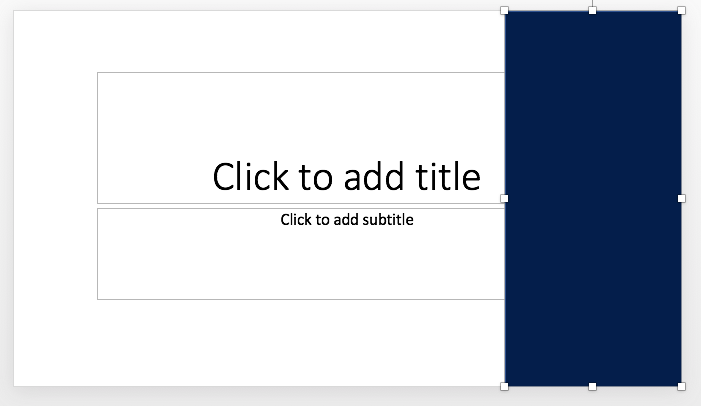
Let’s add more shapes and change their colors. You can copy the rectangle you already created and paste it on the slide.

Follow the same fill color instructions as above to make this shape a lighter shade of blue.
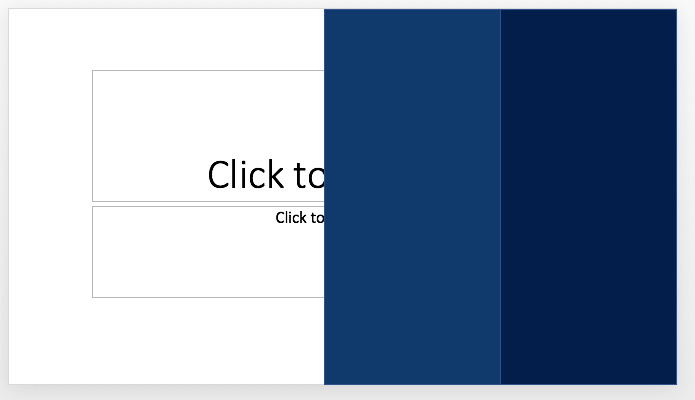
Repeat this one more time for a third rectangle.

Now you get the idea of how to change shape colors. You can play around with the transparency of the shapes so that they are not so bold. Under the Shape Format menu, select the Shape Fill option again. This time, click on the Gradient option.
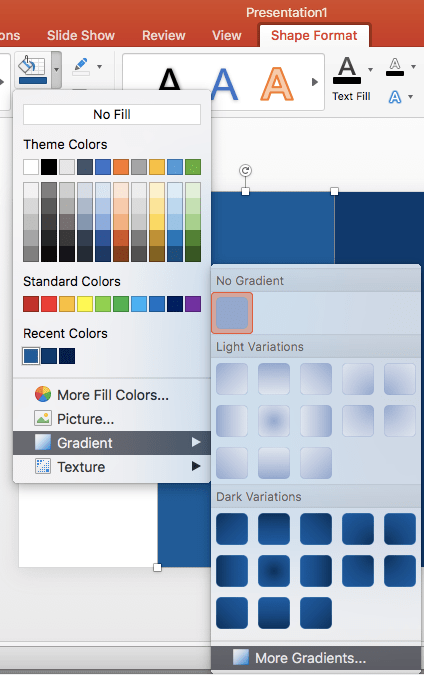
Select More Gradients to customize the transparency of the shapes.
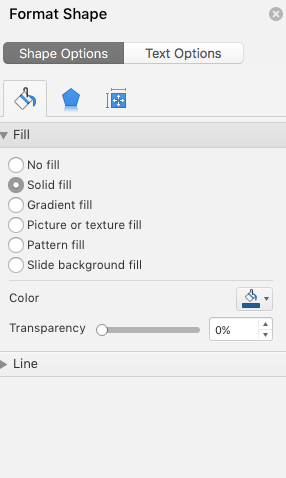
Use the transparency bar to change the shade of the rectangle. I am going to set it at 20%.
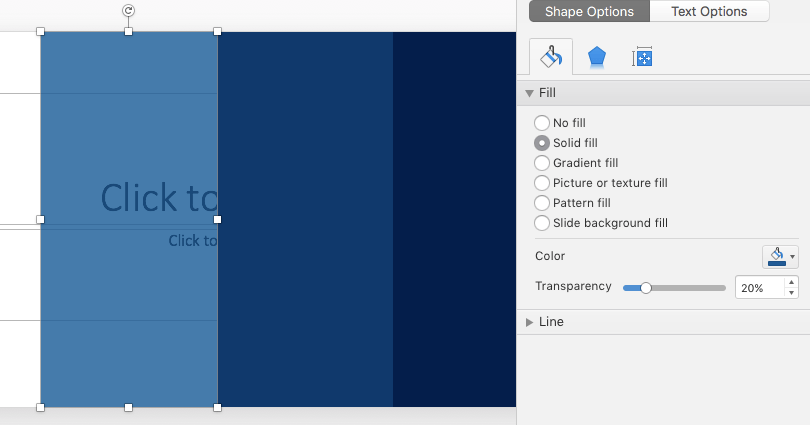
Now you can see the rectangle is softer and transparent. I will repeat this for the other rectangles, keeping each one at 20% transparency for consistency.
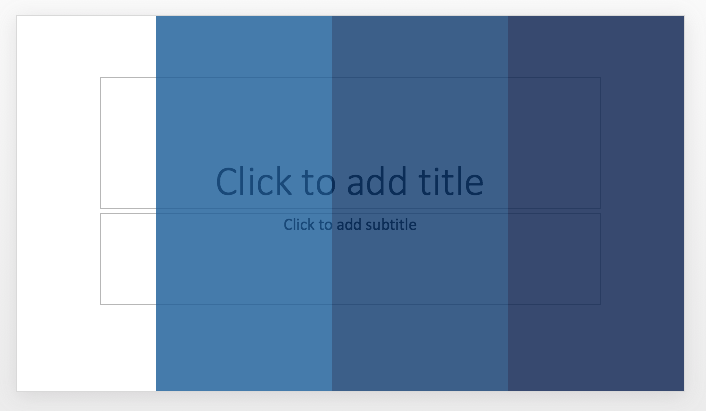
The last thing you will want to do is move your text boxes forward to the text appears on top of the shapes. Select the text box, then go to the Shape Format tab. Select the Arrange tool. You will see options appear. Select the Bring Forward option and then select the Bring To Front option.
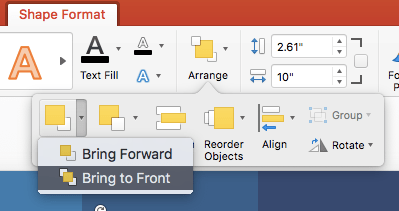
You will see the textbox moved in front of the shapes. Do this again for the other textbox.
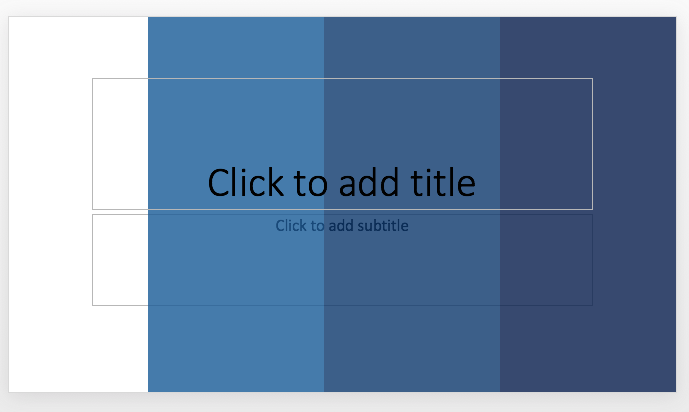
With this PowerPoint tutorial, you can apply your color scheme to any shape or image. You can select unique colors to use in your presentation, change the transparency of the shapes or images, and rearrange items on the slide.
For more tips on presentation design, check out these posts:
PowerPoint Tutorial: How To Make A Branded PowerPoint Template
PowerPoint Tutorial: How To Create A Gradient Slide
PowerPoint Tutorial: How To Create Hyperlinks In A Presentation