Over 99% of individuals in the United States do not possess professional design skills. In many departments, the employees who are tasked with presentation projects concoct visual layouts without implementing basic design principles. Instead, they rely on the minimal guidance provided by PowerPoint templates, which results in a dull representation of content. Oftentimes, companies will settle for less than desirable decks based off of a common assumption. While it certainly helps to gain access to design software like Adobe Illustrator, Photoshop, and InDesign, the tools are not necessary to create visually appealing slides.
For presenters who don’t know their way around the Adobe Creative Suite programs, PowerPoint offers critical design functions. Let’s learn how to create a compelling visual by adding a gradient to a slide.
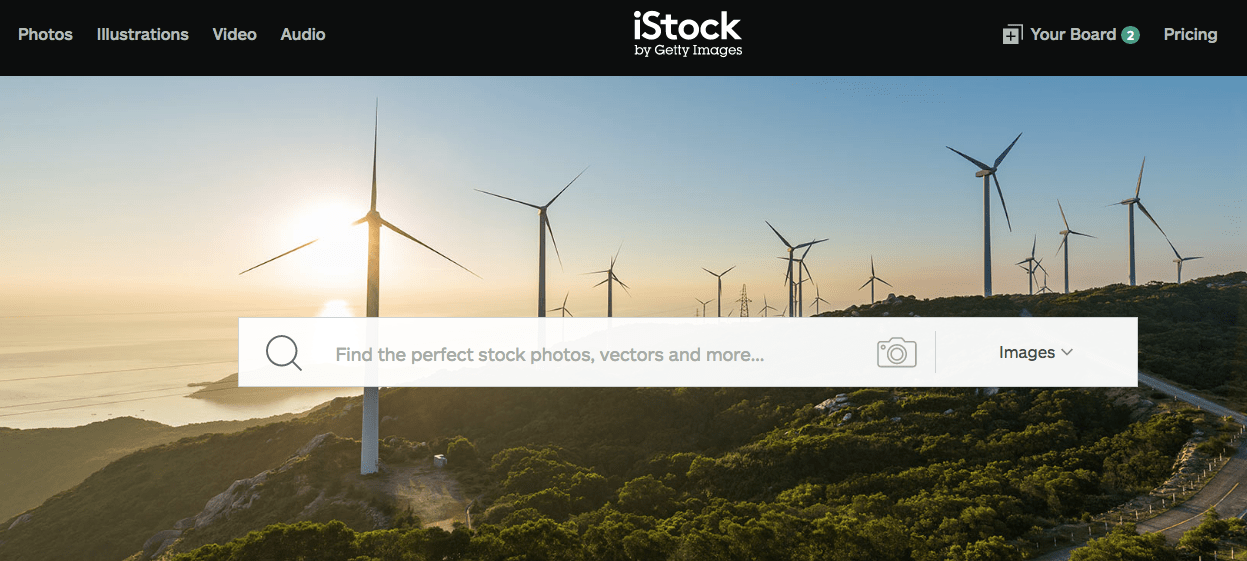
Step 1: Select a background image.
The first item on the list involves choosing a photo to put the gradient layer on in PowerPoint. At Ethos3, we use iStock for all of our stock photography needs.

I picked an image of a group of business professionals celebrating and clapping. Check your Download folder for the image.
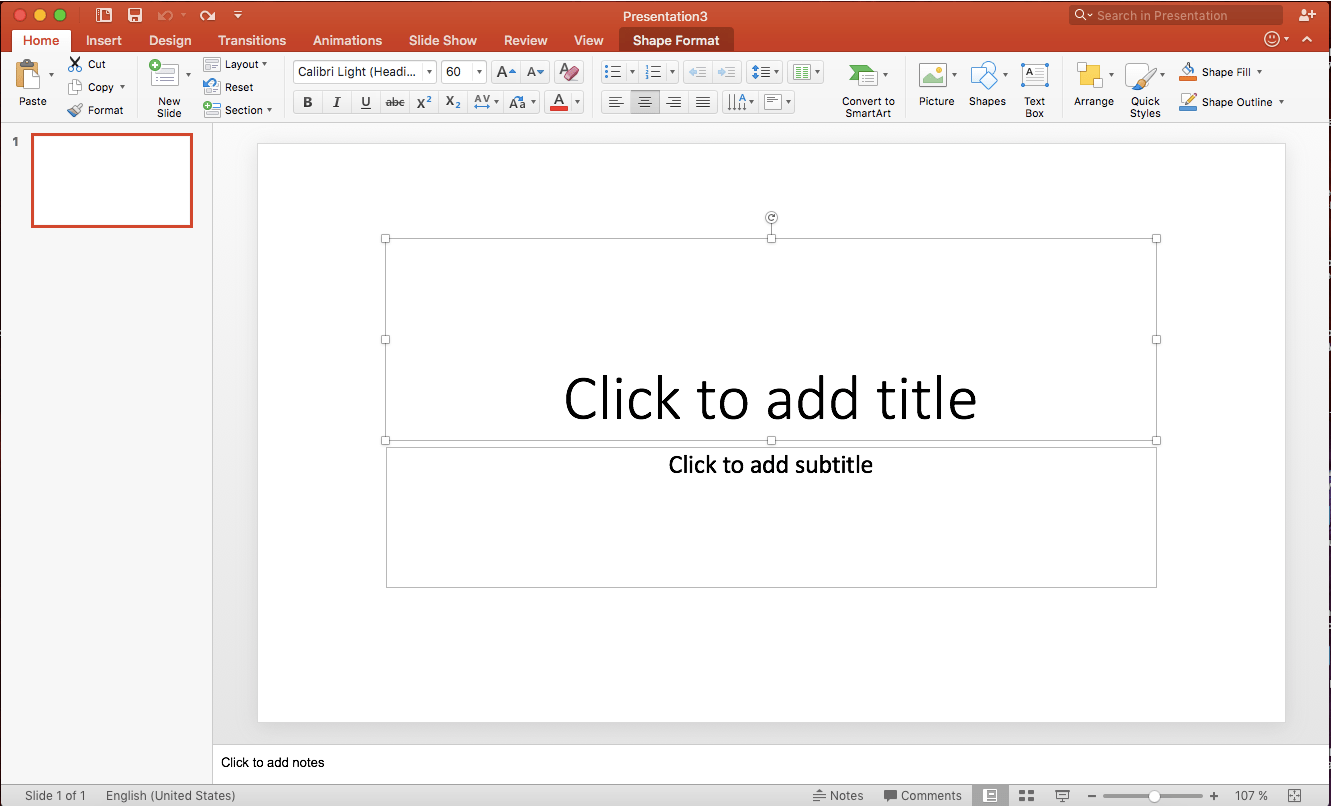
Step 2: Open PowerPoint and insert image onto the slide.
After you have selected your background image, you will open PowerPoint and delete everything on the slide.
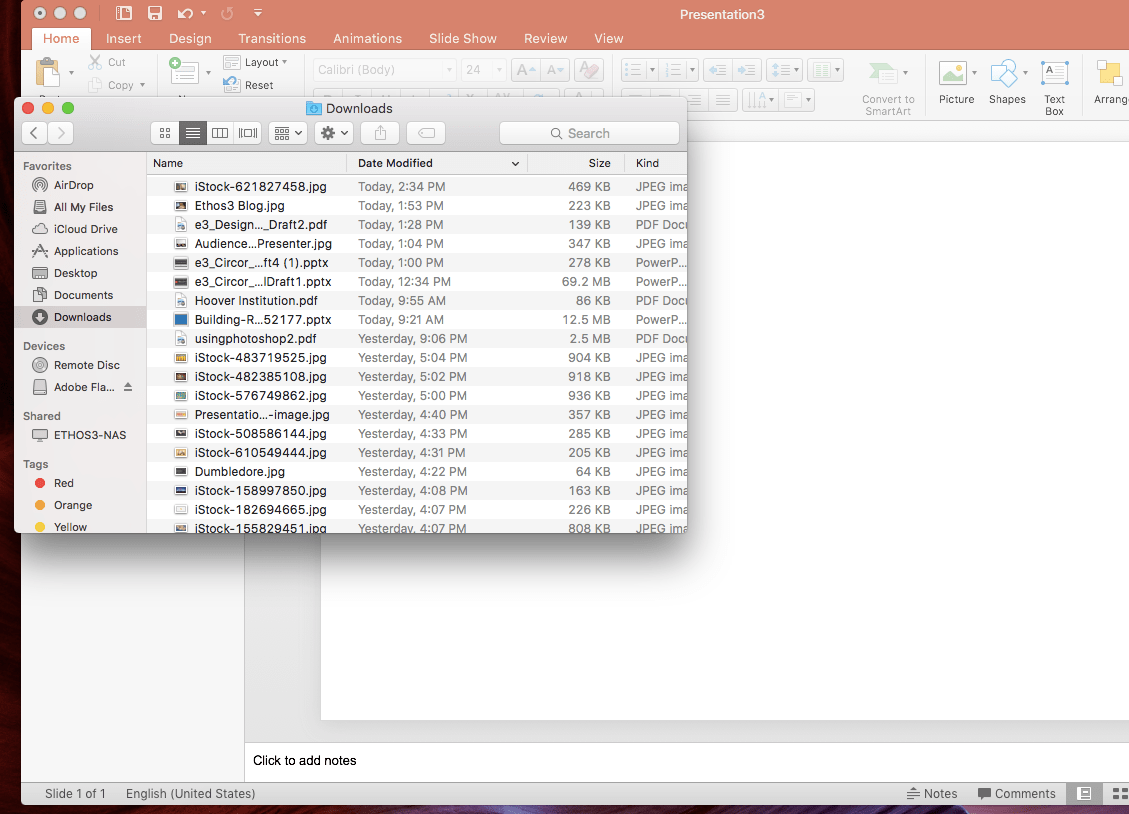
From there, drag your image from the Download folder to your blank PowerPoint slide, making sure it fills the entire space. Your image size should be 1024 x 768 pixels.

Step 3: Create a shape and format it.
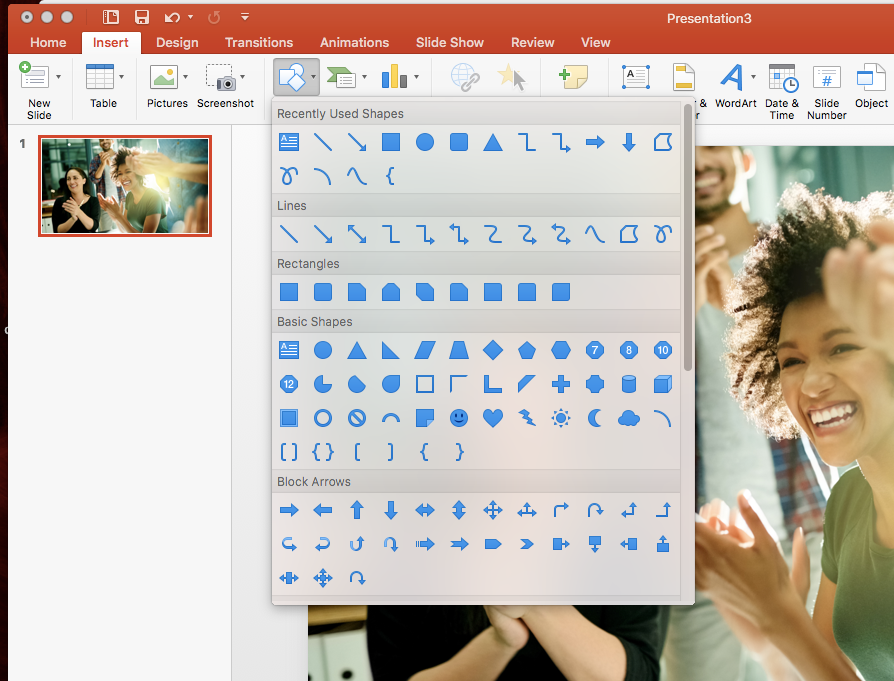
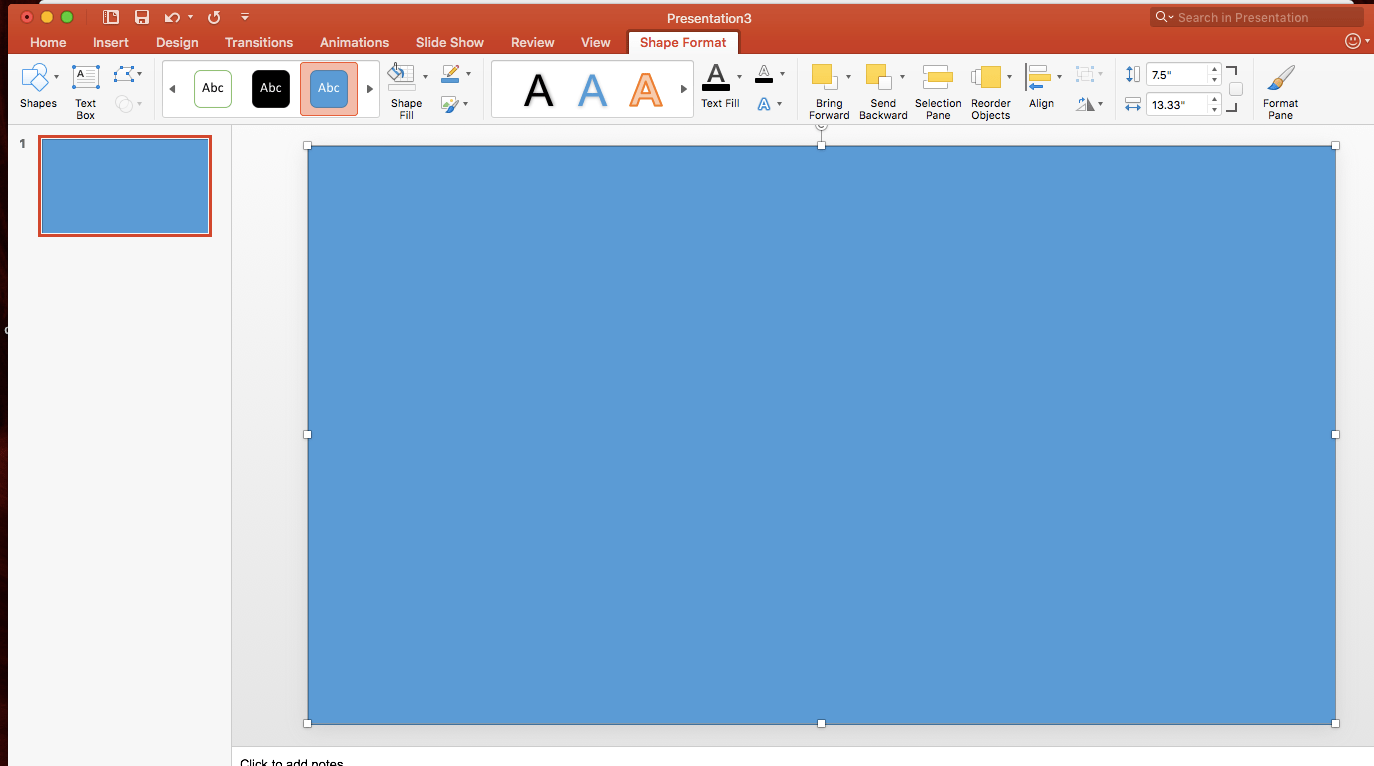
Once the image is placed on the slide, navigate to Insert in the toolbar. Then, click Shape and select rectangle. Resize the rectangle until it completely covers the slide and image.
Step 4: Form the gradient layer.
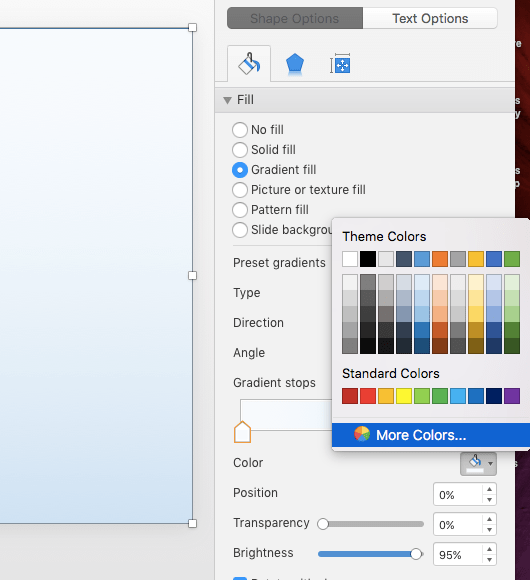
Now, your gradient layer is ready for you to manipulate it to your design preferences. Click on Shape Format and select Shape Fill. Press Gradient, then More Gradients in the dropdown menu. Under Fill, select Gradient Fill.
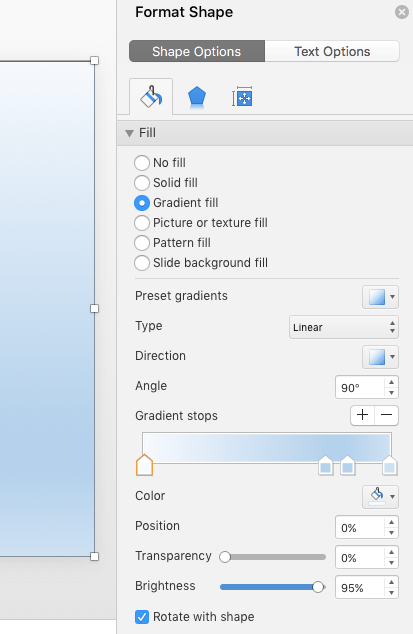
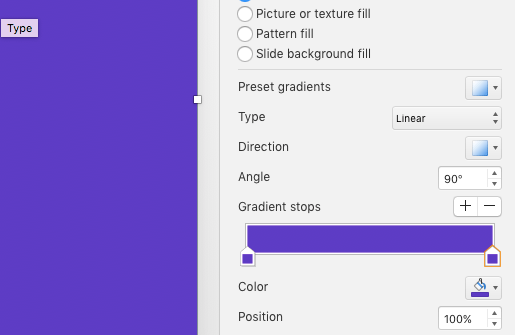
Under Gradient stops, you will see 4 tabs. Remove 2 of the 4 tabs by simply dragging them off of the sliding scale.
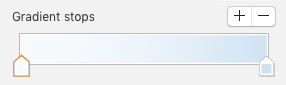
The above image is what you will see after you delete the tabs. Then, you can change the color of the gradient layer. Click on the color icon and select More Colors. I went with a medium dark purple for the first color.
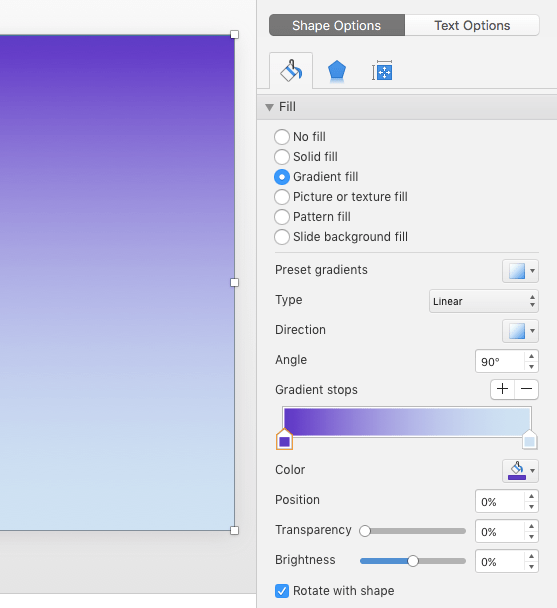
After you have chosen your first color, you will need to select a darker shade of that color for the second color stop. I chose a darker shade of the purple I used for the first stop. To do this, I chose the most recent color used and then navigated to the darker shade I needed to create the gradient.
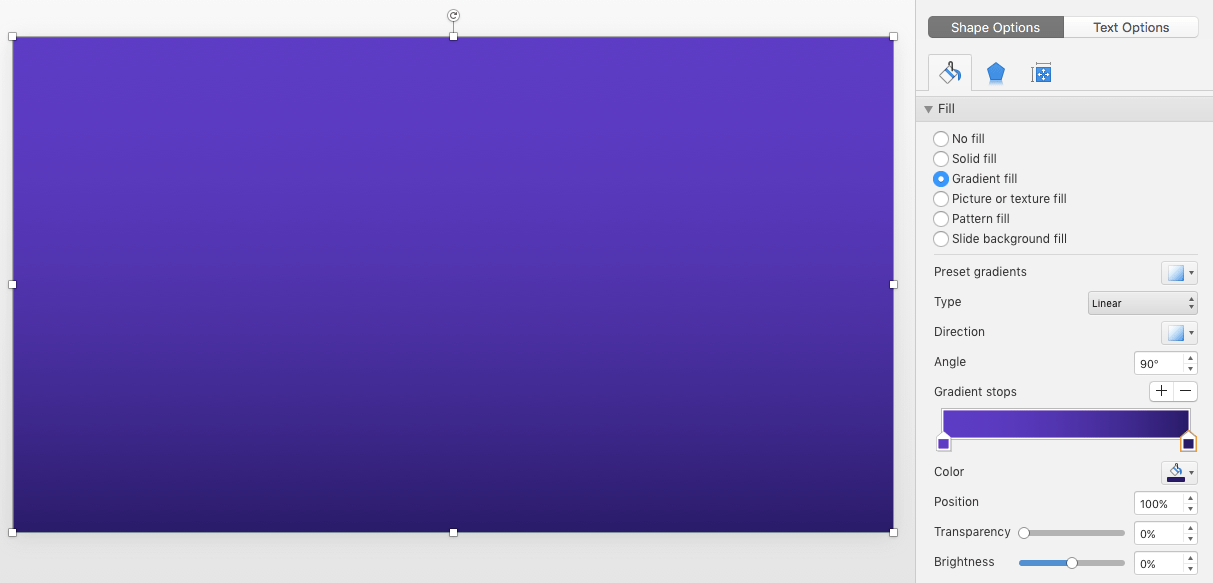
With both colors indicated, I decided to change the direction of the gradient so that it flowed from left to right. This element can be transformed by selecting an option under Direction.
After you decide on a gradient flow, you will want to tweak the transparency so that the image can shine through the color overlay. To do this, click on Transparency and create as many stops as you find necessary to achieve the look and feel you want.
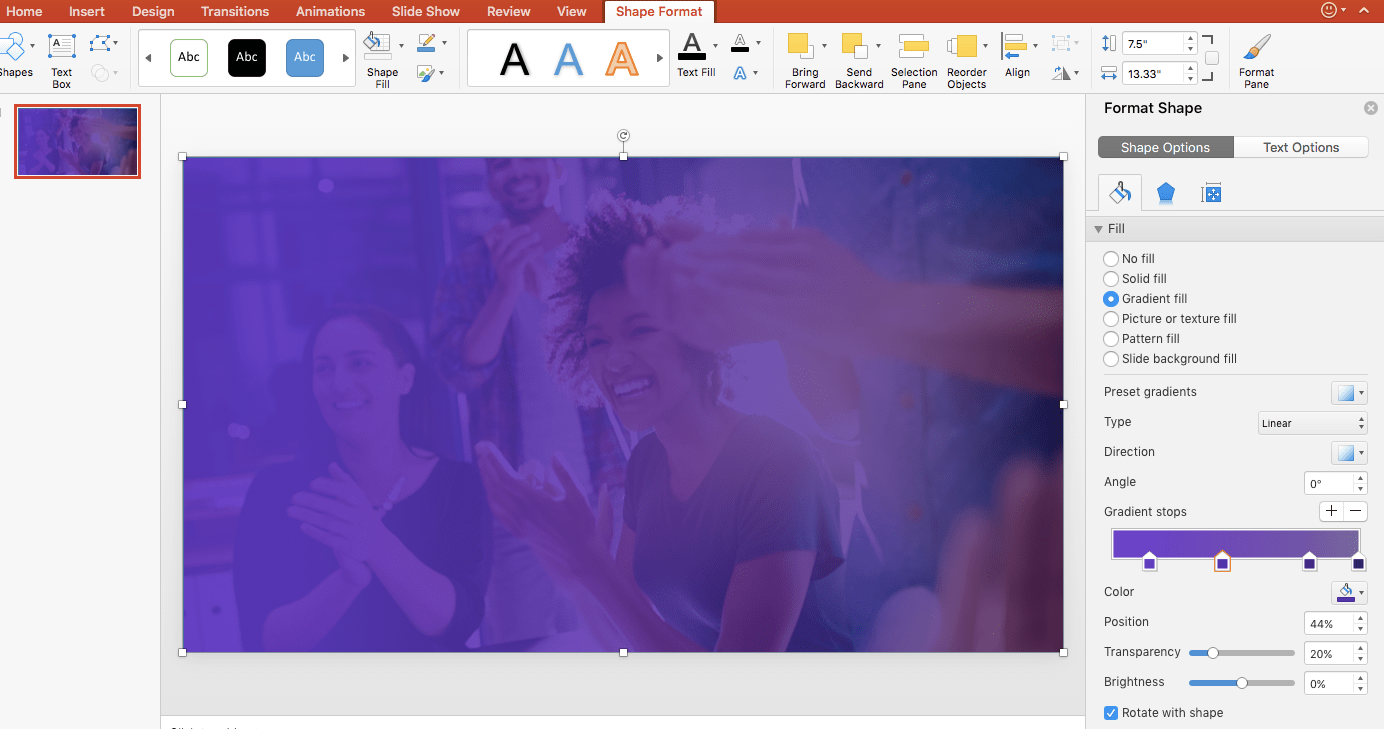
My gradient includes 4 stops of progressively greater transparency than the one before it.
Step 5: Add text to the image.
For the finishing touch to this slide, I created 2 text boxes and added copy to each. To create the text boxes, I selected Insert in the toolbar and then chose Text Box. After refining the font weight, size, and color, I ended up with this final product:

As you can see from completing this PowerPoint tutorial, you don’t need to be a design expert to create more engaging slides. Explore PowerPoint through our educational resources below!
PowerPoint Tutorial: How to Make a Path Animation
How to Source Imagery in a Presentation
How to Create an Internal Navigation System Within PowerPoint
