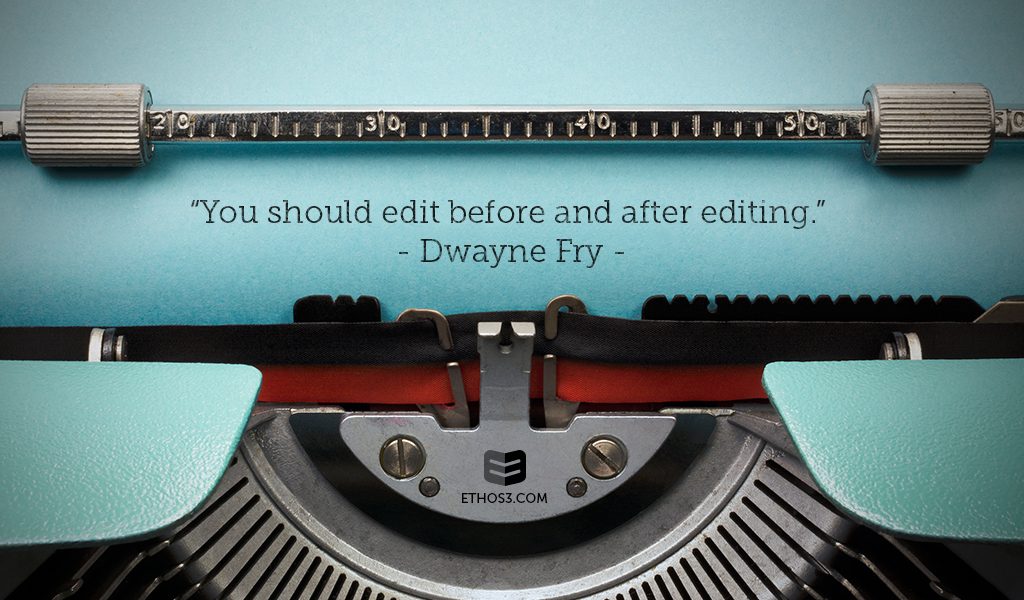
Editing. It’s a 6-letter bad word in our book. Making sure your presentation content is effective, entertaining, and eventually succeeds requires a lot of brain power and the backspace button. What is necessary? What needs to be deleted? How can you tell the difference between the two before throwing in the towel?
As per our normal client process, we receive editing feedback from clients and make the changes according to our best instincts. But what if we are working on a creative project that requires internal feedback?
We need to dig deep. Soul-deep.
Here’s a fast guide to how we start the editing process, with the hope that these three steps will inspire you to start revising. Editing doesn’t have to be scary, it just needs to be broken down into small, manageable steps.

Step One: Assess the Tone
The very first thing you should assess is the overall feel of your presentation. Read through each slide, aloud if necessary, and consider the following questions when you get to the end. What did the content make you think of? Did you feel like you were educated, entertained, or overwhelmed? Don’t think about specific areas of the presentation that bug you, but rather, dig deeper to decide on how the entire deck works together as a whole. If you need help in this area, have a friend review it and give it a high-level overview of what they thought.
Step Two: Slide-by-Slide
Once you’ve assessed the presentation by its feel, then you can go back into slide-by-slide changes. Look for grammatical mistakes, discontinuity in flow, or jargon that may be unfamiliar to the audience. This is also the editing stage where you delete unnecessary words that will clutter up your design in the future, as well as ensure that the creative theme you’ve chosen is consistent throughout the content on each slide.
Step Three: Revise and Revisit
When most people think of editing, they think of this step: fiddling with the content until it feels right. But really, small changes should only happen once the overall structure is in place. Then you can go in and switch slides, ask for more outside opinions, and continue to perfect both the overall tone and specific wording together. Make sure that only the most necessary and effective content stays in place, and cut the rest. Each slide should work perfectly toward your main call to action or goal, and if you’re having a hard time cutting the excess, just move it into the appendix of the presentation (our top secret professional trick)!
Your editing process will be much more successful if you break it down into parts, separating the high-level work from the smaller copy edits. Give your brain time to assess both, lest you become overwhelmed. And although we do recommend having a second pair of eyes for Step One and potentially Step Three, use your best judgement here. Sometimes having too many additional opinions can cloud your initial instinct and make for a messier end product.
Want to read more about how to successfully edit a presentation? Check out a few of these related articles:
The Complete Guide to Editing Presentation Content
