Our “Simplify, Simplify, Simplify” deck (based on this guest blog post on SlideRocket) has almost 50,000 views on SlideShare, less than a month after it was posted. We have a soft spot for this beautiful deck, and for one design element in particular: the cutout texture our designer used to make the photos look like a paper collage. Here’s a step-by-step tutorial on how to apply this texture to the photos in your next presentation.
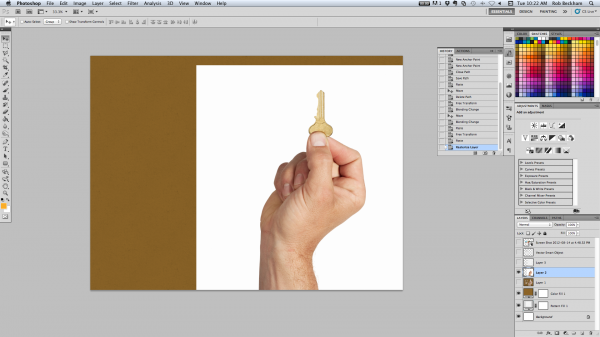
#1 — Start by opening your desired background image. We used a brown background in this example. Then place your selected picture on top of the background, as seen above.
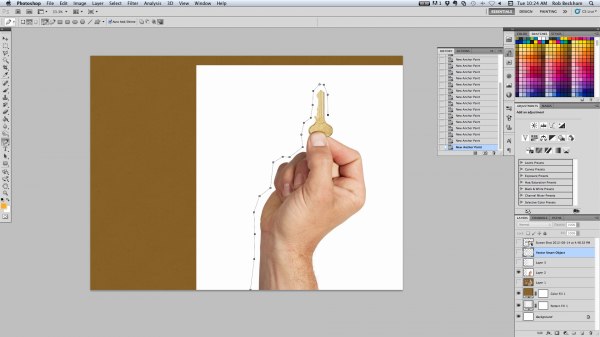
#2 — Next, you’ll want to select the pen tool, and begin clicking at different places around the photo to create an irregular path. The path should emulate a cutout look, as if you’ve just cut the photo out of a magazine or newspaper. A messy, haphazard path is what you’re aiming for.
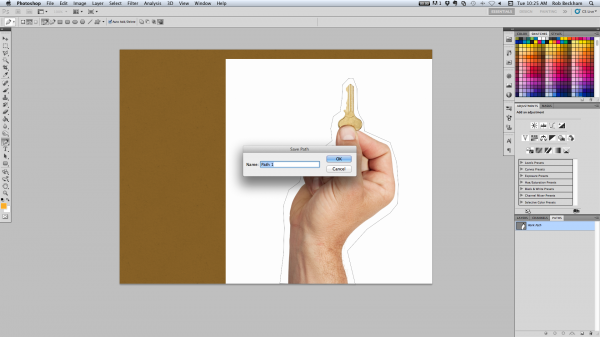
#3 — Once you’ve finished creating your cutout path, click on the Paths tab on your layer palette (which can also be found under the Window tab on the top of your screen) and save the path under whatever name you wish.
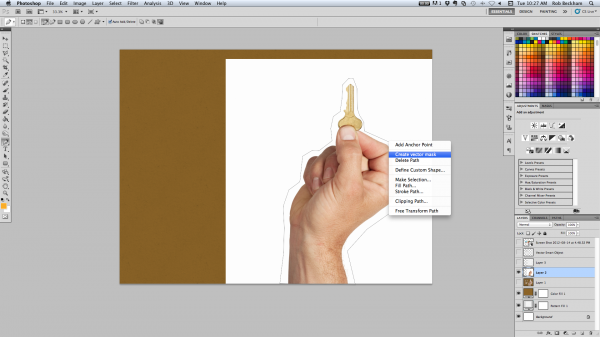
#4 — Next, go back to your layer palette, and make sure you have the pen tool selected. Control-click anywhere on the path you’ve previously created, and select ‘Create Vector Mask,’ as shown in the photo above.
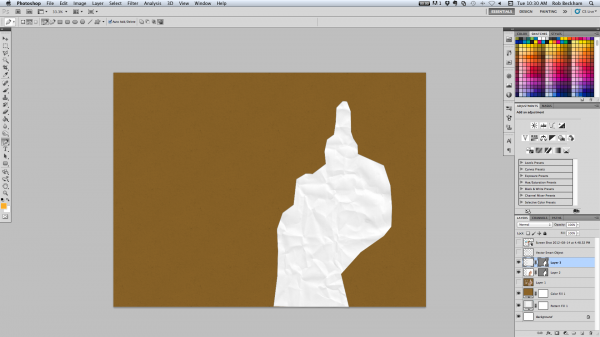
#5 — At this point, you’ll place whatever crinkly paper you want (one of our designers recommends Lost & Taken) on top of your image. After checking to see that the same image is selected on the paths tab, select your pen tool again, control-click on the path you previously drew, and create another vector mask, so that your crinkly paper matches the path of your original image.
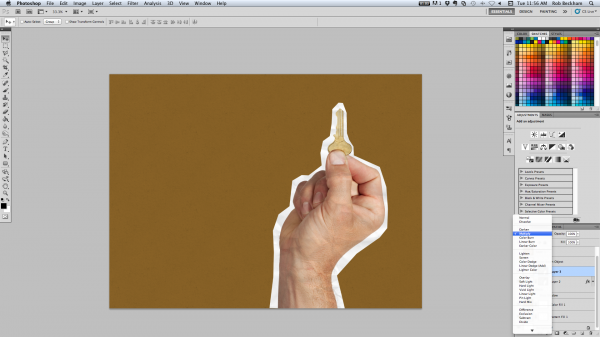
#6 — Next, go back to the layer palette and select the opacity drop down menu and select ‘Multiply,’ which allows the darker colors to come through, over the crinkly paper, revealing your original photo.
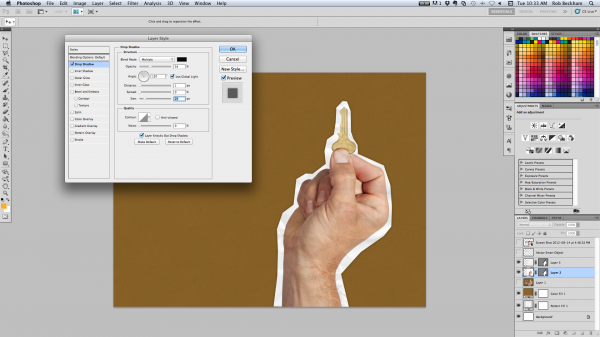
#7 — You’re almost done! Now, control-click your original photo layer, select the blending mode and then the drop shadow tab. Change the settings accordingly to make the drop shadow more or less pronounced.
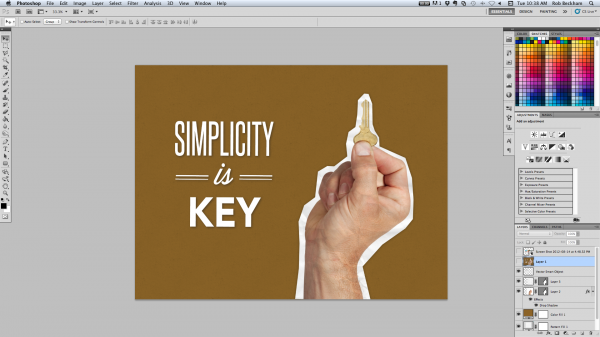
#8 — Now simply place text wherever you want on the slide, and you’re all done! A beautiful crinkly, cutout texture: Easy as pie!
