Presentations are one of the most powerful tools for content marketing campaigns. One presentation can be transformed into a variety of visual assets that can help you boost SEO, increase social media engagement, grow your blog audience, and more.
Follow the 15 easy steps below to add presentations to your content marketing strategy.




Step #1: Create Compelling Content
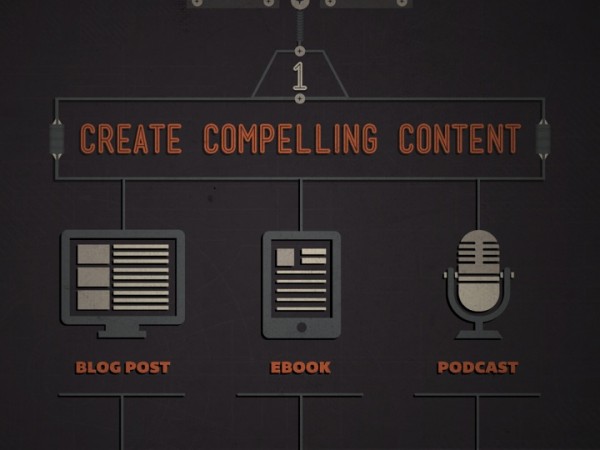 If you do not have a presentation already prepared, I suggest you start by writing an in-depth blog post on the topic of your choice.
Writing a lengthy post will push you to conduct thorough research, structure a meaningful statement about the topic, and also provide you with an additional piece of content to share with your audience.
Once you have completed the post, do not publish it yet. Articles with images get 94% more total views, according to the book, The Power of Visual Storytelling: How to Use Visuals, Videos, and Social Media to Market Your Brand. Visual assets for your blog post will be prepared in the steps below.
Great resources for content creation:
Where To Find Data For Presentations and Infographics
The Neuroscience of Storytelling
Step #2: Outline The Main Points
 Transforming a text-heavy content piece into a presentation requires a significant amount of strategic editing.
Overall, you want to keep the text on each slide to a minimum, and communicate the majority of your message with visuals. However, ensure that your presentation delivers a complete message that requires no additional explanation since you will not be present to add commentary or answer questions.
Also, aim to create some individual slides that are meaningful, even when separated from the rest of the presentation. For example, a quote or statistic can often be meaningful outside of the context of the presentation. These individual slides will be valuable visual assets for some of the following steps.
For more tips on developing presentation content, check out:
The Rule of Three for Presentations
A Step-by-Step Guide to Creating a Compelling Presentation Narrative
Ethos3 Secrets: Crafting A Storyboard
The Complete Guide to Editing Presentation Content
Step #3: Convert The Outline Into A Presentation
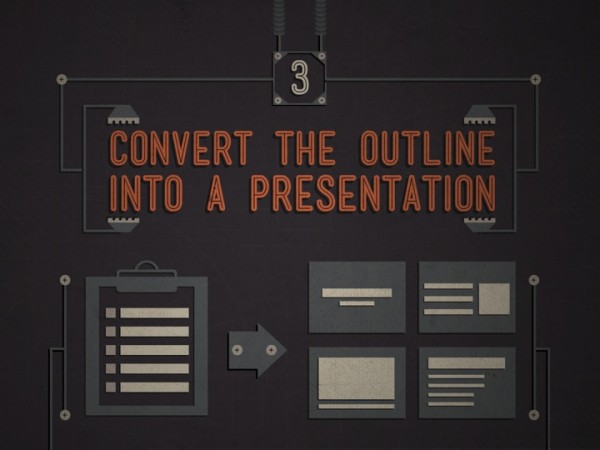 Now that you have the outlined the content for your presentation, you are ready to start designing slides.
Creating visual content that will stand out in today’s era of infobesity is a challenge that usually requires sophisticated design knowledge and advanced technical skills. However, if your content marketing budget does not account for hiring a professional presentation designer, take the time to elevate your design skills by giving yourself a crash course in presentation design.
Here are a few resources to guide you through the presentation design process:
Color Theory Basics for Presentation Design
Presentation Design 101: Iconography
Presentation Design 101: Stock Photography
6 Presentation Design Dos and Don’ts
The Right Way to Incorporate Typography with Photography
Slide Makeovers: Presentation Design Lessons from Real Slides
No Excuse For Poor Presentation Design: 19 Simple Tips
The Science of Memorable Presentations
Step #4: Upload To SlideShare
 As one of the top 120 most visited sites in the world, with an average of 60 million unique visitors per month, SlideShare has the potential to be a goldmine for all content marketers.
Uploading a presentation is the first step towards reaping the benefits of this powerhouse site. To get the most mileage out of your SlideShare content, include a thorough description, hyperlinks, and relevant tags with each upload.
Launch a successful SlideShare marketing campaign with these tips:
33 SlideShare tips, in 140 characters or less
10 Actionable SlideShare Tips for Maximum Results
5 Rules for Converting Customers on SlideShare
Step #5: Embed The Presentation Into Content
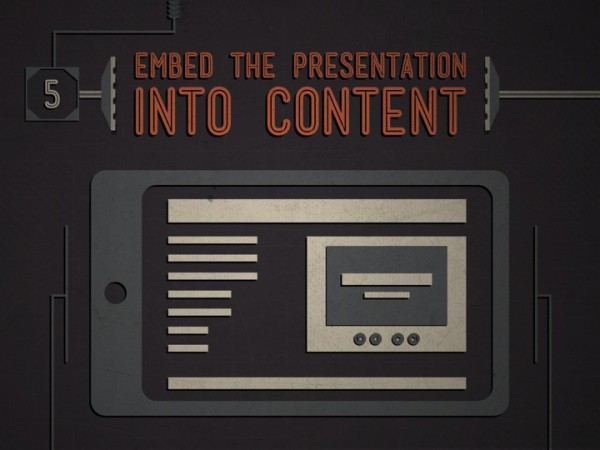 To embed a presentation from SlideShare, select the Embed button while viewing the desired presentation. Then, copy the embed code and paste the code into the HTML section of your blog post. Your presentation should be viewable via a SlideShare player that is embedded into your blog post.
If you choose to embed your presentation into the content created in step #1, check out steps #7 and #8 before moving onto step #6. However, if you want to embed your presentation into another piece of content to stretch the reach of your visual content, feel free to do so.
The bottom line: Use these tips creatively to meet the needs of your audience. These steps do not need to be followed in this order to be effective.
Your embedded presentation will look like this:
For more information about embedding SlideShare presentations, visit the SlideShare Help Center.
Step #6: Share On Social Media
 To share a fully functioning presentation with your social media audience, select the Share button, and then click the Twitter icon and/or the Pinterest icon from the top of the presentation viewer. Twitter and Pinterest allow users to view all slides of a presentation without leaving the social media site.
You can also embed a fully functioning presentation into your LinkedIn profile by copying the URL for your SlideShare presentation, and pasting it into the Add Link option of your profile. Add complete SlideShare decks to your LinkedIn articles by embedding the code into your LinkedIn posts just like you did in Step #5.
To redirect your social media audience to the presentation on your SlideShare profile, share the presentation URL on your Facebook page, or in your Linkedin updates. Your audience will not be able to view the complete presentation within their LinkedIn or Facebook newsfeeds. Instead, they will be redirected to SlideShare.
To learn more about the power of presentations on social media, check out:
How Presentations Could Save Your Social Media Strategy
Step #7: Save Your Slides As Images
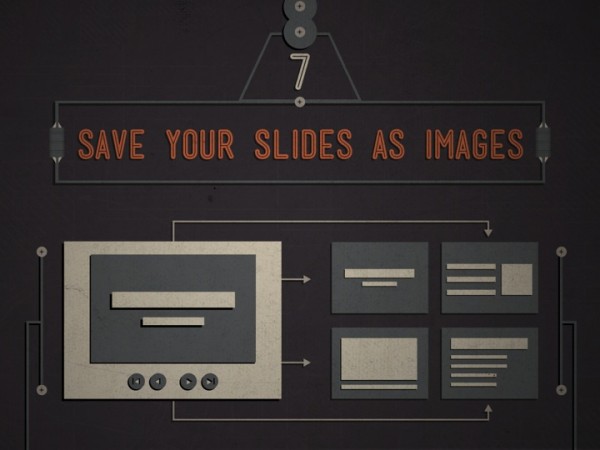 Now that you have utilized the presentation as a complete package, it is time to start deconstructing the presentation so you can use individual slides as visual assets.
To do this, you will need to save each slide as an individual image file. In PowerPoint, saving slides as images is as easy as selecting Save As Pictures from the File drop down menu.
For more PowerPoint tips, check out:
5 PowerPoint Tips You Need To Know
Step #8: Add Images To Your Content
 You can enhance your content in a variety of ways with your presentation slides.
For starters, consider using a beautifully designed slide, or a slide with a resonant message as the header image for the blog post created in Step #1. You can also add slides throughout the body of the content piece to add visual appeal. Once you have maxed out the visual potential of that original post, feel free to add it to your editorial calendar for publishing.
If you have leftover slides, look through your editorial calendar for upcoming posts that might be a good fit for the content and design of the remaining slides. Not all slides will be meaningful as an individual unit though, so don’t try to force slides that are meaningless without the context of the complete presentation.
To learn more about the value of visuals, check out:
Visual Is Viral: 10 Facts You Need to Know
We Live In A Visual World (Infographic)
Step #9: Use Images In Social Media Posts
 You can never have too many visuals to share on social media. Images are the No. 1 most important factor in optimal social media content, according to Kevan Lee of Buffer. Looking at the stats, there is no denying the validity of this claim.
Use your best individual slides to enhance your social media posts. Share the slide images across all of your social media profiles to promote blog posts, SlideShare content, or anything that is related to the messages of the slide images.
To learn more about the importance of visuals for social media marketing, check out:
A Complete Guide to Creating Awesome Visual Content
Visual Social Media: How Images Improve Your Social Media Marketing
Step #10: Create A Slideshare GIF
 From this point on, not all of the steps will be appropriate or possible for all content marketers. Pick and choose the techniques that best fit with your content marketing strategy.
If your content marketing plan will benefit from a GIF, SlideShare has an easy solution for you. Visit Gifdeck.in to convert your SlideShare presentation into a GIF.
To learn more, check out:
Turn Your SlideShares into Animated GIFs
Step #11: Stack Slides Into An Infographic
 According to HubSpot, publishers who use infographics grow in traffic an average of 12% more than those who don’t.
If your presentation content can be outlined and designed in a format that will allow the slides to be seamlessly laid out as a single, horizontal design (infographic style) then you can easily transform your presentation into a new piece of powerful visual content.
If you create an infographic from your presentation slides, consider waiting a few weeks before sharing the infographic on your site and social media profiles. You want to get maximum usage out of each content idea by transforming it into various content styles, but you don’t want to bore your audience by being repetitive. Spread similar content out over time to keep your audience’s attention.
When the time is right, upload the infographic to SlideShare, share it on social media, and look for a blog post that would benefit from the addition of an infographic.
Check out our example of a presentation transformed into an infographic:
To learn more about the power of infographics, check out:
19 Reasons You Should Include Visual Content in Your Marketing
Step #12: Share via Email
 Build an email marketing campaign using any or all of the visual assets prepared in the preceding steps.
Direct email subscribers to your blog, your SlideShare presentation or infographic, or promote the public speaking gig and webinar described in the following steps.
For more email marketing tips, check out:
33 Email Marketing Tips, in 140 characters or less
Ethos3 Presentation Tech Demo: Trackbat
Step #13: Film Yourself Presenting The Deck
 Public speaking is a great way to build your platform as a thought leader and cultivate brand awareness for your business. Land a public speaking gig by sharing your presentation slides with conference coordinators and professional organizations.
If you secure a public speaking role, film your performance on the big day. You will gain an additional visual asset for your content marketing toolbox, and you can also use the video to land more public speaking opportunities.
To learn more about becoming a professional public speaker, check out:
10 Reasons to Start a Speaking Career
The Complete Guide to Ending Stage Fright
The Science of “Um” and How To Avoid It
10 Tips for Becoming a TED Speaker
Step #14: Upload The Video
 Now that you have a video of your presentation, develop a plan for sharing the video.
Because of its massive audience and significant role in SEO, YouTube is a great place to launch any video initiatives. Upload your video to YouTube, and follow optimization best practices.
Adding videos to social media updates or blog posts is a great way to boost engagement. According to The Power of Visual Storytelling: How to Use Visuals, Videos, and Social Media to Market Your Brand, posts with videos attract three times more inbound links than plain text posts attract.
Check out the Ethos3 YouTube channel:
Step #15: Deliver The Presentation During A Webinar
 As previously stated, not all of these final steps will be appropriate for all content marketers. If you already completed step #14, you might choose to skip step #15, and vice versa.
Regardless, your presentation is the perfect tool to use for an online presentation. Webinars are a wonderful opportunity to make personal connections with your audience members, no matter their location.
To learn more about presentation webinars, check out:
Ethos3 Tech Review: MightyMeeting
Ethos3 Tech Review: Logitech Webcam C920
Conclusion

Now that you understand some of the ways you can utilize and transform presentations for content marketing, you can get creative and put your own unique spin on presentations as a content marketing tool.
If you have questions about how to write, design, or deliver presentations, contact us. We are ready to help you!
Want to know more? Check out:
The Complete Guide to Content Marketing With Presentations
